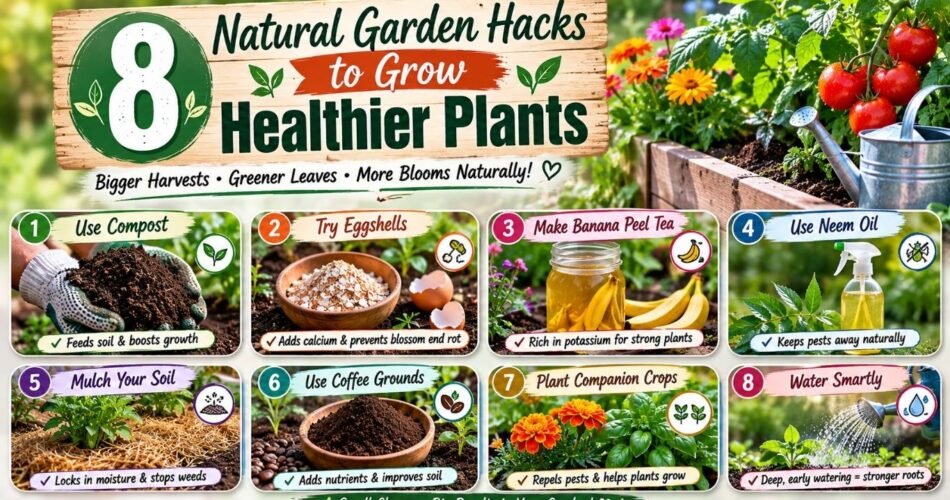
There’s something deeply satisfying about walking into your kitchen, grabbing something you’d normally toss in the trash, and turning it into garden gold. After spending years getting my hands dirty in raised beds, containers, and backyard plots, I can tell you honestly — some of the most effective plant care solutions aren’t found in expensive garden centers. They’re already sitting in your pantry, recycling bin, or under your kitchen sink.
This guide breaks down 8 natural garden hacks to grow healthier plants with everyday household items — no gimmicks, no social media myths, and no advice that’ll secretly kill your tomatoes. Every method here is either backed by soil science, widely tested by experienced organic gardeners, or both. I’ll also tell you when not to use each one, because that’s just as important as the how-to.
Whether you’re growing vegetables on a balcony or managing a full backyard food garden, these DIY garden hacks will help you improve soil health, feed your plants naturally, and save money doing it. Let’s dig in.
Why Household Items Can Be Surprisingly Effective in the Garden
Before we get into specifics, it helps to understand why this works at all. Most plants need a fairly short list of things to thrive: adequate nitrogen, phosphorus, and potassium (the “big three”), a healthy microbiome in the soil, consistent moisture, and the right pH.
Many common household items happen to deliver one or more of these things in forms that plants can actually use. The key is knowing the right concentrations, the right timing, and — critically — when to leave well enough alone. Overusing even a “natural” substance can stress or damage plants. Gardening is about balance, not just throwing things at your soil and hoping for the best.
If you’re just getting started thinking about your garden setup, it’s worth reading How to Plan Your Next Garden Project before diving into any new techniques, so you’re applying these hacks strategically rather than randomly.
Hack #1: Eggshells — A Slow-Release Calcium Boost for Strong Cell Walls
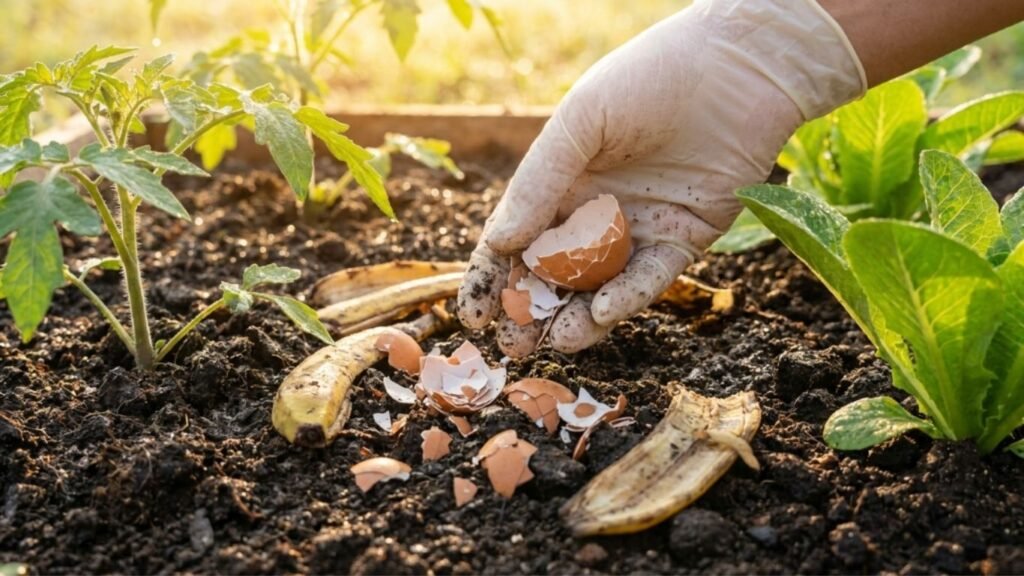
The Household Item
Crushed eggshells from your kitchen
Why It Works
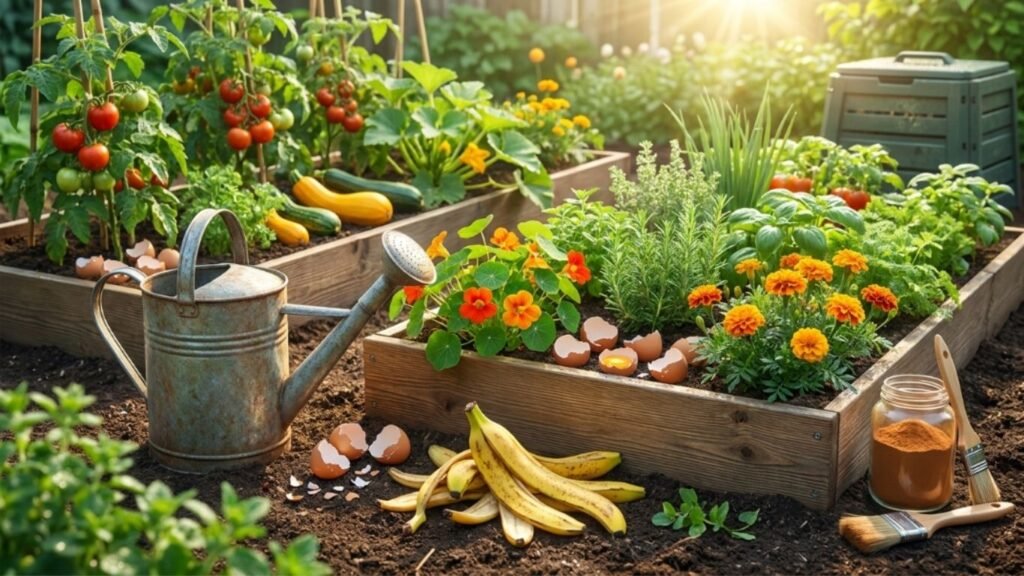
Eggshells are made up of approximately 95% calcium carbonate, which is the same compound found in agricultural lime. Calcium is critical for plant cell wall development, and a lack of it causes problems like blossom end rot in tomatoes and peppers — that dark, sunken spot on the bottom of the fruit that so many gardeners struggle with.
When crushed finely and worked into soil, eggshells break down and slowly release calcium. They also very mildly raise soil pH, which can be helpful in overly acidic beds. One honest caveat: eggshells break down slowly, so they’re better as a long-term soil amendment than an emergency fix.
Which Plants Benefit Most
- Tomatoes
- Peppers
- Eggplant
- Squash and zucchini
- Roses
- Broccoli and other brassicas
Step-by-Step Instructions
- Collect and rinse eggshells after use. Rinse them briefly to remove any egg white residue (which can attract pests or smell).
- Let them dry on a tray for 24–48 hours. Damp shells will mold.
- Crush them thoroughly. The finer the powder, the faster they break down. Use a blender, food processor, or a mortar and pestle.
- Work them into the soil at planting time, mixing into the top 6 inches of your bed. Use about 4–5 crushed eggshells per transplant hole.
- Alternatively, sprinkle crushed shells around the base of established plants and water in.
- Compost them — adding eggshells to your compost pile speeds up their breakdown and makes the calcium more bioavailable.
Advantages and Limitations
| Advantages | Limitations |
|---|---|
| Free, zero-waste amendment | Breaks down slowly in soil |
| Provides slow-release calcium | Won’t fix acute calcium deficiency quickly |
| Mildly deters soft-bodied pests | Not a substitute for complete fertilizer |
| Improves soil texture slightly | Minimal effect on potassium or nitrogen levels |
Safety Precautions
- Always rinse shells to prevent salmonella contamination in edible garden beds.
- Don’t apply excessively to already alkaline soils — test your pH first.
Common Mistakes to Avoid
- Using whole or barely broken shells — they take years to break down meaningfully. Crush them as finely as possible.
- Expecting immediate results — eggshells are a long-game amendment. Start at the beginning of the season.
- Relying on them as a cure for blossom end rot — this condition is often caused by inconsistent watering affecting calcium uptake, not just a calcium deficiency in the soil.
Hack #2: Banana Peels — A Potassium-Rich Organic Fertilizer
The Household Item
Banana peels (fresh or dried)
Why It Works
Banana peels are genuinely rich in potassium, and they also contain phosphorus and small amounts of calcium and magnesium. Potassium is essential for fruit development, flowering, disease resistance, and water regulation within plant cells. This is why many experienced organic gardeners swear by banana peels, particularly during the flowering and fruiting stages.
Dried and powdered banana peels have a potassium content similar to some commercial organic fertilizers, making this one of the more legitimately useful kitchen-scrap hacks out there.
Which Plants Benefit Most
- Tomatoes (especially during flowering)
- Roses
- Peppers
- Fruit trees
- Potatoes
- Cannabis (where legal)
Step-by-Step Instructions
Method 1 — Buried amendment:
- Chop or tear fresh banana peels into small pieces.
- Bury them 3–4 inches deep near plant roots at planting time.
- Avoid placing directly against the stem to prevent rot.
Method 2 — Dried powder (most effective method):
- Lay banana peels flat on a baking sheet.
- Dry in an oven at 200°F (93°C) for 1–2 hours, or sun-dry for several days.
- Grind into powder using a blender.
- Sprinkle 1–2 tablespoons around the base of plants and water in.
- Apply every 3–4 weeks during the growing season.
Method 3 — Banana peel “tea”:
- Soak 2–3 banana peels in 1 quart of water for 24–48 hours.
- Remove peels and dilute the liquid 1:1 with water.
- Use as a liquid feed around the base of plants.
Advantages and Limitations
| Advantages | Limitations |
|---|---|
| Excellent potassium source | Fresh peels can attract fruit flies and pests |
| Phosphorus and micronutrient bonus | Not a complete fertilizer — lacks nitrogen |
| Easy to make at home | Takes preparation time if drying |
| Completely biodegradable | Overuse can create soil imbalances |
Safety Precautions
- Fresh, whole peels left on the soil surface will attract pests. Always bury, dry, or compost them instead.
- Don’t use peels from bananas that have been treated with wax or surface chemicals — buy organic when possible, or at least wash the peels thoroughly.
Common Mistakes to Avoid
- Laying whole peels on the soil surface — this is what most viral social media posts show, and it reliably attracts slugs, flies, and rodents.
- Using as a sole fertilizer — pair with a nitrogen source for balanced nutrition.
- Applying excessively — too much potassium can interfere with magnesium uptake.
Hack #3: Diluted Hydrogen Peroxide — Oxygenate Roots and Fight Soil Pathogens
The Household Item
3% hydrogen peroxide (standard drugstore variety)
Why It Works
This one surprises a lot of gardeners, but it’s grounded in chemistry. Hydrogen peroxide (H₂O₂) breaks down into water and oxygen when it contacts organic matter or soil. That extra oxygen boost does two things: it helps aerate the root zone, which is especially valuable in compacted or waterlogged soils, and it kills anaerobic pathogens like root rot fungi (Pythium species) that thrive in oxygen-poor conditions.
Diluted correctly, it’s safe for plants and beneficial soil microbes largely recover quickly because they’re more resilient than the pathogens being targeted.
Which Plants Benefit Most
- Plants in containers with poor drainage
- Seedlings prone to damping off
- Overwatered plants showing root rot symptoms
- Hydroponic setups
- Any plant in heavy clay or waterlogged soil
Step-by-Step Instructions
For general root health:
- Mix 1 teaspoon of 3% hydrogen peroxide per 1 cup of water (roughly a 0.3% solution).
- Water plants as normal with this solution once every 2–3 weeks.
For treating suspected root rot:
- Mix 1 tablespoon of 3% hydrogen peroxide per 1 cup of water.
- Remove plant from pot, gently rinse roots, and trim any black or mushy roots.
- Soak roots briefly (30 seconds to 1 minute) in the solution.
- Repot in fresh, well-draining soil.
For seed germination:
- Soak seeds in a 1% solution (1 part 3% H₂O₂ to 2 parts water) for 30 minutes before planting.
- This can improve germination rates and reduce seed-borne fungal issues.
Advantages and Limitations
| Advantages | Limitations |
|---|---|
| Breaks down into water and oxygen — no harmful residue | Can harm beneficial microbes at high concentrations |
| Effective against root rot pathogens | Only use 3% pharmacy grade — stronger concentrations are dangerous |
| Improves oxygen availability in root zone | Not a cure for severe or long-standing root rot |
| Inexpensive and widely available | Temporarily disrupts soil biology |
Safety Precautions
- Never use concentrations above 3% on plants. Higher concentrations used in industrial settings can cause chemical burns on roots and leaves.
- Avoid spraying on foliage in direct sunlight — it can cause bleaching.
- Don’t use in combination with organic liquid fertilizers in the same watering session.
Common Mistakes to Avoid
- Using undiluted hydrogen peroxide — even 3% straight from the bottle is too strong for plant roots.
- Using it preventatively every week — this will disrupt your soil food web over time. Occasional, targeted use is best.
- Buying the wrong concentration — always check the label. Anything above 3% is not for garden use.
Hack #4: Cinnamon — A Natural Antifungal for Seedlings and Cuttings
The Household Item
Ground cinnamon (Ceylon or Cassia variety from your spice cabinet)
Why It Works
Cinnamon contains cinnamaldehyde, a compound with demonstrated antifungal properties in laboratory studies. It’s particularly effective against the soil-borne fungal complex that causes “damping off” — a frustrating condition where seedlings suddenly collapse and die at the soil line shortly after germination.
It also works as a rooting aid when applied to fresh cuttings. While not as potent as commercial rooting hormones, some gardeners find it surprisingly effective, particularly for easy-to-root plants like herbs and soft-stemmed perennials.
Which Plants Benefit Most
- Seedlings of all types (especially tomatoes, peppers, basil)
- Cuttings from herbs (basil, rosemary, lavender)
- Mushroom-prone container plants
- Plants with surface mold issues
Step-by-Step Instructions
For damping off prevention:
- After sowing seeds, lightly dust the soil surface with ground cinnamon.
- Reapply after watering if the powder gets washed away.
- Continue until seedlings are 2–3 inches tall and past the most vulnerable stage.
For plant cuttings:
- Take a clean cutting just below a leaf node.
- Dip the cut end in ground cinnamon before inserting into potting mix or propagation medium.
- This helps seal the cut and provides antifungal protection while roots develop.
For surface mold on soil:
- Dust the soil surface lightly with cinnamon wherever you see white fuzzy surface mold.
- Improve air circulation and reduce overwatering alongside this treatment.
Advantages and Limitations
| Advantages | Limitations |
|---|---|
| Genuinely antifungal — not just a myth | Most studies are lab-based; field results vary |
| Safe for people, pets, and plants at normal use | Not effective against bacterial problems |
| Helps with rooting cuttings | Not a substitute for proper drainage and air circulation |
| Inexpensive | Can temporarily discourage beneficial fungi in living soil |
Safety Precautions
- Don’t apply cinnamon directly to open plant wounds other than cuttings.
- Cassia cinnamon has higher concentrations of coumarin, which at very large quantities could affect soil biology — use in moderation.
- Avoid applying heavily to mycorrhizal-inoculated soils, as it may disrupt beneficial fungal relationships.
Common Mistakes to Avoid
- Applying too thick a layer — a light dusting is all you need. Thick layers can crust over and repel water.
- Using it as a sole treatment for serious fungal disease — cinnamon helps prevent and slow fungal issues; it won’t cure a severe infection.
- Ignoring the root cause — damping off is usually caused by overwatering and poor air circulation. Cinnamon helps, but fix the environment too.
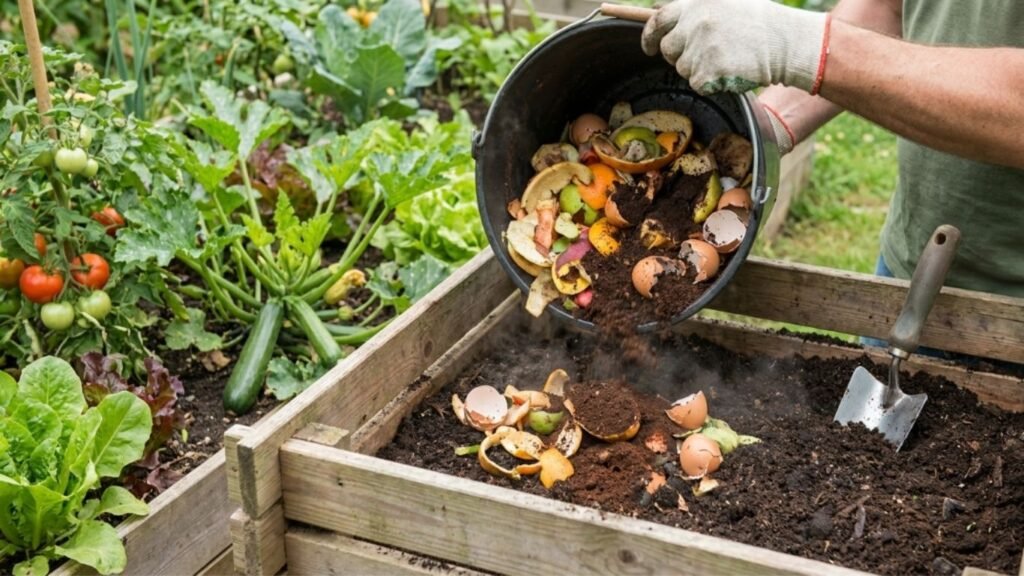
Hack #5: Homemade Compost — The Single Most Effective Soil Amendment You Can Make
The Household Item
Kitchen scraps (fruit and vegetable waste, coffee grounds, eggshells, tea bags) + yard waste (dry leaves, grass clippings, straw)
Why It Works
If I had to pick just one thing from this entire list, it would be compost. Finished compost adds organic matter, introduces beneficial microorganisms, improves soil structure (better drainage in clay, better water retention in sandy soil), and releases a balanced array of nutrients as it continues to break down. No single purchased product does all of that at once.
The science here is overwhelming and well-established. Compost feeds the soil food web — the bacteria, fungi, protozoa, nematodes, and earthworms that collectively make nutrients available to plants. Healthy soil biology is the foundation of healthy plants.
This is, without question, the most sustainable gardening practice you can adopt.
Which Plants Benefit Most
Everything. Truly. But vegetable gardens, fruit trees, and container plants see some of the most dramatic improvements.
Step-by-Step Instructions
Building a basic compost pile:
- Choose a spot or bin at least 3x3x3 feet in size for efficient decomposition.
- Layer “browns” (carbon-rich materials: dry leaves, cardboard, straw) and “greens” (nitrogen-rich materials: fruit scraps, vegetable peels, grass clippings, coffee grounds).
- Aim for roughly a 3:1 ratio of browns to greens by volume.
- Keep the pile as moist as a wrung-out sponge — not soggy, not dry.
- Turn the pile every 1–2 weeks to introduce oxygen and speed decomposition.
- Finished compost smells earthy, looks dark and crumbly, and takes 2–6 months depending on conditions.
Using compost:
- Mix 2–4 inches into planting beds each season.
- Use as a 1–2 inch top dressing around established plants.
- Mix into potting soil at 25–30% by volume.
Advantages and Limitations
| Advantages | Limitations |
|---|---|
| Improves soil structure, drainage, and water retention | Takes time (2–6 months for finished compost) |
| Feeds the soil food web | Requires a bit of space and management |
| Reduces household and yard waste | Hot composting requires regular turning |
| Provides broad-spectrum, balanced nutrition | Improperly made compost can contain weed seeds or pathogens |
Safety Precautions
- Never compost: meat, fish, dairy, diseased plants, pet feces, or invasive weeds that have gone to seed.
- If you’re hot composting correctly (reaching 130–160°F internally), most weed seeds and pathogens are killed.
Common Mistakes to Avoid
- Too many greens — this creates a slimy, smelly pile. Balance with dry browns.
- Not enough moisture — a dry pile won’t decompose. Water it as needed.
- Making it too complicated — even a simple pile with kitchen scraps and dry leaves will eventually produce usable compost.
If you grow vegetables in containers — like many apartment gardeners do — compost is doubly important. Check out How to Grow Zucchini in Containers for a Big Summer Harvest for a great example of how to apply these soil improvement principles to container gardening.
Hack #6: Coffee Grounds — Feeding Acid-Loving Plants and Improving Soil Biology
The Household Item
Used coffee grounds from your morning brew
Why It Works
Used coffee grounds (as opposed to fresh, unused grounds) have a near-neutral pH — around 6.5 to 6.8 — which surprises many gardeners who assume they’re highly acidic. What they do offer is a modest nitrogen content (approximately 2% nitrogen), along with potassium and magnesium, plus a texture that improves soil drainage and aeration when mixed in.
Perhaps more importantly, coffee grounds are loved by earthworms and beneficial soil bacteria. Adding them to your soil or compost pile encourages soil biological activity, which translates to better nutrient cycling for your plants.
Note on acidity: While coffee grounds don’t dramatically lower soil pH, fresh unused coffee grounds are acidic and can be used sparingly around acid-loving plants. The used grounds you’d normally apply are closer to pH neutral.
Which Plants Benefit Most
- Blueberries
- Azaleas and rhododendrons
- Hydrangeas (for blue flowering)
- Tomatoes
- Strawberries
- Herbs
Step-by-Step Instructions
Direct soil application:
- Sprinkle a thin layer (no more than ½ inch) of used coffee grounds around plant bases.
- Gently work into the top inch of soil.
- Apply once every 3–4 weeks during the growing season.
Adding to compost:
- Add coffee grounds — including the paper filter — to your compost pile as a “green” (nitrogen) material.
- Balance with carbon-rich browns.
- This is actually the best way to use coffee grounds for most gardens.
Liquid fertilizer:
- Steep 2 cups of used grounds in 5 gallons of water overnight.
- Strain and use as a diluted liquid fertilizer around plants.
Advantages and Limitations
| Advantages | Limitations |
|---|---|
| Free nitrogen source | Applied in thick layers, they repel water |
| Encourages earthworms and beneficial bacteria | Can compact and form a crust on soil surface |
| Improves soil drainage when properly mixed | Won’t significantly acidify soil (despite popular belief) |
| Easy to collect | Don’t use around plants preferring alkaline soil |
Safety Precautions
- Never apply more than a ½-inch layer directly on soil — thick applications form a dense mat that repels water and can prevent seedlings from emerging.
- Keep away from very young seedlings, as the slightly allelopathic properties of caffeine can suppress germination.
Common Mistakes to Avoid
- Applying thick layers thinking more is better — a thin layer or compost addition is ideal.
- Using around seedlings — caffeine residue in coffee grounds can inhibit germination and early seedling growth.
- Expecting them to dramatically lower pH — if you’re growing blueberries, you’ll still need sulfur or acidic fertilizer to achieve the pH 4.5–5.5 they require.
Hack #7: Rainwater Collection — Better for Plants Than Tap Water
The Household Item
Buckets, barrels, or any large containers placed to catch rain
Why It Works
This is one of those hacks that seems almost too simple, but the difference between tap water and rainwater can be genuinely significant for plant health. Here’s why:
Tap water in many municipalities is treated with chlorine or chloramine, and it often has an alkaline pH. Rainwater, on the other hand, is naturally slightly acidic (pH 5.6–6.2), which happens to align perfectly with the preferred pH of most vegetable and ornamental plants. It’s also free of fluoride, salt buildup, and other minerals that accumulate in soil when you water repeatedly with heavily treated tap water.
Over a full growing season, using rainwater regularly can improve soil pH balance, reduce salt accumulation, and support a more thriving soil microbiome.
Which Plants Benefit Most
- All acid-loving plants (blueberries, azaleas)
- Seedlings and cuttings
- Carnivorous plants (which are especially sensitive to minerals in tap water)
- Container plants (where salt buildup is a bigger concern)
- All vegetable garden plants
Step-by-Step Instructions
Basic rain barrel setup:
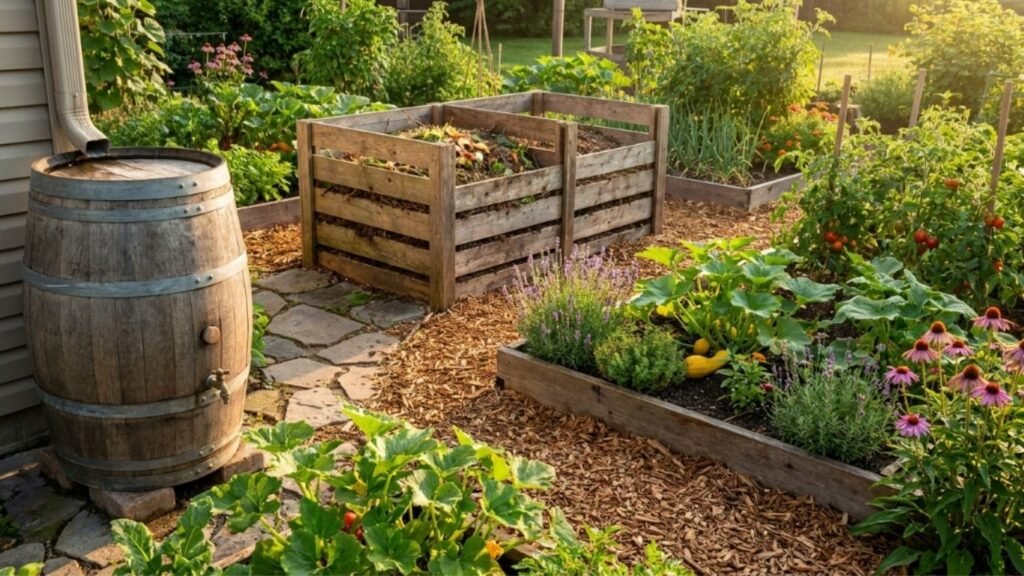
- Place a large barrel or food-grade container under a downspout.
- Install a screen or mesh over the opening to keep out debris, insects, and mosquito larvae.
- Add a spigot near the bottom for easy access.
- Use collected water within 1–2 weeks to prevent algae growth.
Simpler method:
- Set out large buckets, bowls, or containers in your garden during rain.
- Use the collected water immediately for plants.
Best time to use:
- Water plants in the early morning with collected rainwater to maximize absorption and minimize evaporation.
Advantages and Limitations
| Advantages | Limitations |
|---|---|
| Naturally slightly acidic — ideal pH for most plants | Can run out during dry spells |
| Free of chlorine, fluoride, and salt | Requires initial setup for barrel systems |
| Reduces water bills | Must manage mosquito prevention in standing water |
| Supports soil microbiome | Roof material can affect water quality |
Safety Precautions
- Don’t collect water from roofs with treated wood shingles, lead flashing, or painted metal — these can leach harmful chemicals into your water supply.
- Check local regulations — some regions have restrictions on rainwater collection (though this is increasingly rare).
- Don’t let water sit for more than 2 weeks without use, and always keep the barrel covered to prevent mosquito breeding.
Common Mistakes to Avoid
- Leaving barrels uncovered — standing water breeds mosquitoes in as little as 7–10 days.
- Overlooking roof material — asphalt shingles generally produce acceptable water quality; treated cedar or painted metal roofs are more concerning.
- Not using it during dry periods — the whole point is to capture rain when it falls and use it when you need it most.
Hack #8: Homemade Mulch From Cardboard and Leaves — Suppress Weeds and Build Soil Simultaneously
The Household Item
Cardboard boxes (uncoated, no glossy printing) + dry autumn leaves or grass clippings
Why It Works
Mulching is one of the highest-return activities in any garden. It simultaneously suppresses weeds, retains soil moisture, moderates soil temperature, and — crucially — as organic mulch decomposes, it feeds earthworms and improves soil structure from the top down.
Cardboard is an excellent base layer because it’s a heavy-duty weed suppressant that also decomposes within a season, feeding soil biology as it breaks down. It’s also a perfect way to repurpose the dozens of boxes that seem to accumulate in most homes.
Layering cardboard with leaves creates what permaculture gardeners call “sheet mulching” or the “lasagna method” — a no-dig approach to building healthy garden beds that mimics natural forest floor dynamics.
Which Plants Benefit Most
- All garden beds (vegetable and ornamental)
- Fruit trees and shrubs
- Newly established garden areas
- Beds being built on lawn or weedy areas
Step-by-Step Instructions
Sheet mulching (for new beds or heavy weed areas):
- Remove any large weeds or grass (or simply mow short).
- Lay cardboard directly on the soil, overlapping edges by at least 6 inches to prevent weeds from finding gaps.
- Remove all tape and staples from cardboard boxes, and avoid glossy or heavily dyed cardboard.
- Wet the cardboard thoroughly — this starts decomposition and helps it conform to the ground.
- Layer 4–6 inches of dry leaves, straw, or grass clippings on top.
- Plant through the layers or add a layer of compost on top before planting.
For established beds:
- Lay 2–3 inches of dry leaves or grass clippings around established plants.
- Keep mulch 2–3 inches away from plant stems to prevent rot and pest issues.
- Replenish each season.
Advantages and Limitations
| Advantages | Limitations |
|---|---|
| Suppresses weeds for an entire season | Cardboard must be refreshed annually |
| Retains soil moisture significantly | Wet cardboard can harbor slugs in humid climates |
| Decomposes to feed soil biology | Grass clippings can mat if applied too thick |
| Completely free — uses waste materials | Not suitable for plants that need warm, dry crowns |
Safety Precautions
- Avoid cardboard with glossy coatings or heavy ink printing — these can contain chemicals you don’t want in your soil.
- Grass clippings used as mulch should be from lawns that haven’t been recently treated with herbicides — herbicide residue can persist and damage garden plants.
- Don’t apply mulch up against tree trunks or plant stems — this causes crown rot and can create habitat for voles.
Common Mistakes to Avoid
- Using freshly cut green grass in thick layers — green grass mulch compacts, heats up, and forms an anaerobic mat. Let it dry or mix it with carbon materials first.
- Forgetting to wet the cardboard — dry cardboard takes much longer to integrate and can blow away.
- Applying too close to plant stems — the “mulch volcano” around trees is unfortunately still a common sight, and it actively harms the plant.
Expert Tips for Sustainable, Eco-Friendly Gardening
These eight hacks are individual tools, but sustainable organic gardening is really about building a system. Here are some broader principles to weave everything together:
Build the soil first, feed the plant second. Healthy soil biology makes nutrients available naturally. If you focus on compost, mulch, and minimal soil disturbance, you’ll need fewer interventions overall.
Water deeply and less frequently. Deep, infrequent watering encourages roots to grow deeper, making plants more drought-resilient. Using your rainwater barrel for these deep waterings is ideal.
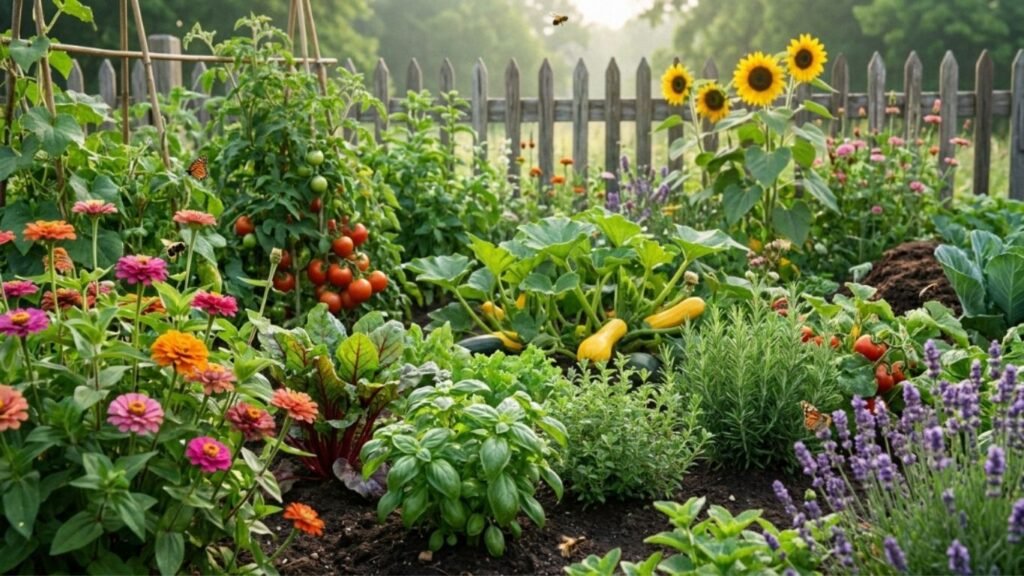
Encourage beneficial insects. Plant a few flowering herbs — dill, fennel, cilantro allowed to bolt, or sweet alyssum — near your vegetables. These attract beneficial wasps, hoverflies, and ladybugs that control pest populations naturally.
Rotate crops annually. Even in small gardens, rotating plant families between beds prevents soil-borne disease buildup and keeps pest cycles from establishing.
Test your soil every few years. Many of these hacks are most effective when you know what your soil actually needs. A basic soil test (available cheaply through your local cooperative extension service) takes the guesswork out of amendments.
For gardeners who enjoy thinking outside the box, there are also some fascinating methods that experienced gardeners have tested and found useful. 8 Weird Garden Tricks That Actually Work covers some of these less conventional but genuinely effective approaches worth exploring once you’ve mastered the fundamentals.
FAQ: Natural Garden Hacks With Household Items
Q1: Can I use vinegar as a natural herbicide in my garden?
Vinegar (5% acetic acid) can kill young weeds by drawing moisture out of their leaves. However, it affects any plant it contacts — including your vegetables — and doesn’t kill established weeds at the root. It also temporarily lowers soil pH. Use it only as a targeted spot treatment on weeds in pathways or cracks, and never spray it near garden beds. Stronger horticultural vinegar (20%+) should be used with eye and skin protection and is generally not necessary for home gardens.
Q2: How often should I apply these household garden hacks?
It depends on the specific hack:
- Eggshells and compost: Season-start amendments, refreshed annually.
- Banana peels: Every 3–4 weeks during growing season.
- Hydrogen peroxide: As needed for root problems, not routinely.
- Cinnamon: During vulnerable seedling stages or when fungal issues arise.
- Rainwater: Use whenever available in place of tap water.
- Mulch: Once per season, refreshed as it decomposes.
Q3: Can I use cooking water (from boiling vegetables) as plant fertilizer?
Yes — unsalted vegetable cooking water contains small amounts of nutrients leached from the vegetables. Cool it to room temperature first, then use it to water plants. This is a minor benefit, but it’s a good no-waste habit. Never use cooking water that contains salt, oil, or meat residue.
Q4: Are these hacks safe for vegetable gardens where I eat the produce?
Yes, when used as described. The key precautions are:
- Rinse eggshells before using.
- Use only 3% hydrogen peroxide.
- Avoid cardboard with toxic inks or coatings.
- Use organic or thoroughly washed banana peels.
- Never apply vinegar near edible crops.
Q5: Can I use these hacks for indoor houseplants?
Several of them work well indoors:
- Rainwater is excellent for houseplants — it avoids the mineral buildup from tap water.
- Diluted hydrogen peroxide (1 tsp per cup of water) can treat root rot in overwatered houseplants.
- Cinnamon helps with surface mold on houseplant soil.
- Compost mixed into potting soil improves indoor plant health significantly.
- Coffee grounds in very small amounts can be added to the top of soil for plants that tolerate them.
Avoid using banana peels in indoor settings due to fruit fly attraction.
Q6: Do eggshells really deter slugs and snails?
This is a widely repeated gardening tip, but the honest answer is: the evidence is mixed. Some gardeners find sharp crushed shells create a minor barrier; others find slugs happily cross them. It may provide a slight deterrent, but don’t rely on eggshells as your primary slug control method. They’re better used as a calcium amendment, with slug control handled separately through iron phosphate baits or copper tape.
Q7: Is it safe to use newspaper instead of cardboard for sheet mulching?
Yes. Modern newspaper uses soy-based inks, making it safe for garden use. Layer 8–10 sheets thick (overlapping edges), wet thoroughly, and cover with organic mulch. Newspaper breaks down faster than cardboard, so it’s better for lighter weed pressure. Avoid glossy magazine pages.
Key Takeaways
- Compost is king — if you do nothing else, make and use compost. It’s the foundation of every other improvement you can make.
- Apply everything in moderation. Natural doesn’t automatically mean unlimited. Correct application rates matter.
- Fix the environment, not just the symptom. Damping off, root rot, and nutrient deficiencies are usually caused by cultural problems (overwatering, poor drainage, bad soil). Hacks help, but address root causes.
- Rainwater is consistently undervalued. Simply switching to collected rainwater can improve plant health over a full season.
- Cardboard mulch is the easiest high-return investment you can make in any garden bed.
- Always check your soil pH before heavily amending — knowing what you’re working with prevents doing more harm than good.
- Patience matters. Most of these hacks show their best results over a full growing season, not overnight.
Conclusion
The best garden hacks aren’t the flashiest ones — they’re the ones that actually work consistently and make sense from a plant biology standpoint. These 8 natural garden hacks to grow healthier plants with everyday household items aren’t magic shortcuts; they’re practical applications of organic gardening principles using materials you already have on hand.
Start small. Pick two or three hacks that match your current garden challenges — if you’re fighting root rot in containers, try the hydrogen peroxide treatment. If your tomatoes keep getting blossom end rot, start collecting and crushing those eggshells now. If you’re building a new bed, sheet mulch with cardboard and leaves this fall and you’ll have beautiful, workable soil by spring.
Every piece of fruit peel you bury, every barrel of rainwater you collect, every cardboard box you repurpose into a weed barrier is a small act of sustainable gardening that adds up to something significant over time. Your plants will show you the difference, and your soil will thank you for years to come.
Happy growing. 🌱